Sweet Shortcrust Pastry
The secret to great pastry is to keep everything cold and use only your fingers – not your palms, when rubbing in fat. You don’t have to worry about overdeveloping gluten here, but you don’t want to melt the fat into the flour and end up with a greasy lump. It might seem like an awful lot of ingredients, but the finished pastry is short, nutty, buttery and delicious!
80g rice flour (or oat flour, maize flour or millet flour)
90g sorghum flour (or buckwheat, chestnut, tigernut or teff flour)
50g tapioca starch (or arrowroot powder, or potato starch or cornstarch)
70g ground almonds (or ground hazelnuts, ground sunflower seeds or oat flour)
50g sugar
2-3 pinches of sea salt
3 tsp ground linseed (or 6 tsp for egg free version)
1 tsp psyllium husk powder
100g cold salted butter (or vegan butter or 80g coconut or olive oil)
1 large egg (beaten)
3-4 tablespoons of cold water (5-7 for egg free version)
Mix flours, ground almonds, sugar, salt, psyllium husk & linseed together in a mixing bowl.
Cut butter into chunks and rub into the flour with just the tips of your fingers, until it resembles rough breadcrumbs – don’t go too far with it, so that it looks like sand. If you have warm hands, put them into cold water before you start, or do this part in a food processor.
Stir in beaten egg with a fork (leave out if using extra linseed).
Sprinkle in some water using your hands and stir the mixture with your hand in a claw shape. Add enough water in small amounts until the crumbs start to form clumps by themselves as you stir them. Try to avoid kneading the dough or squishing it together too much, just stir the crumbs with your fingers to encourage them to absorb the water. You will need to make the dough wetter than for a standard wheat dough as the flours and linseed will take up slightly more water than wheat flour. The texture you’re after is soft putty rather than firm dough.
Knead briefly on a floured surface and gently to bring together into a ball. Flatten to about 2 inches thick, wrap in parchment or put in an airtight container and chill for 20-30 minutes until firm enough to roll out.
If it seems at all crumbly when you come back to it after chilling simply crumble it into lumps and add a few more teaspoons of water before re-kneading. You’ll get the hang of how much water to add after you’ve made a couple of batches. Err on the side of too wet rather than too dry and your pastry will hold together better.
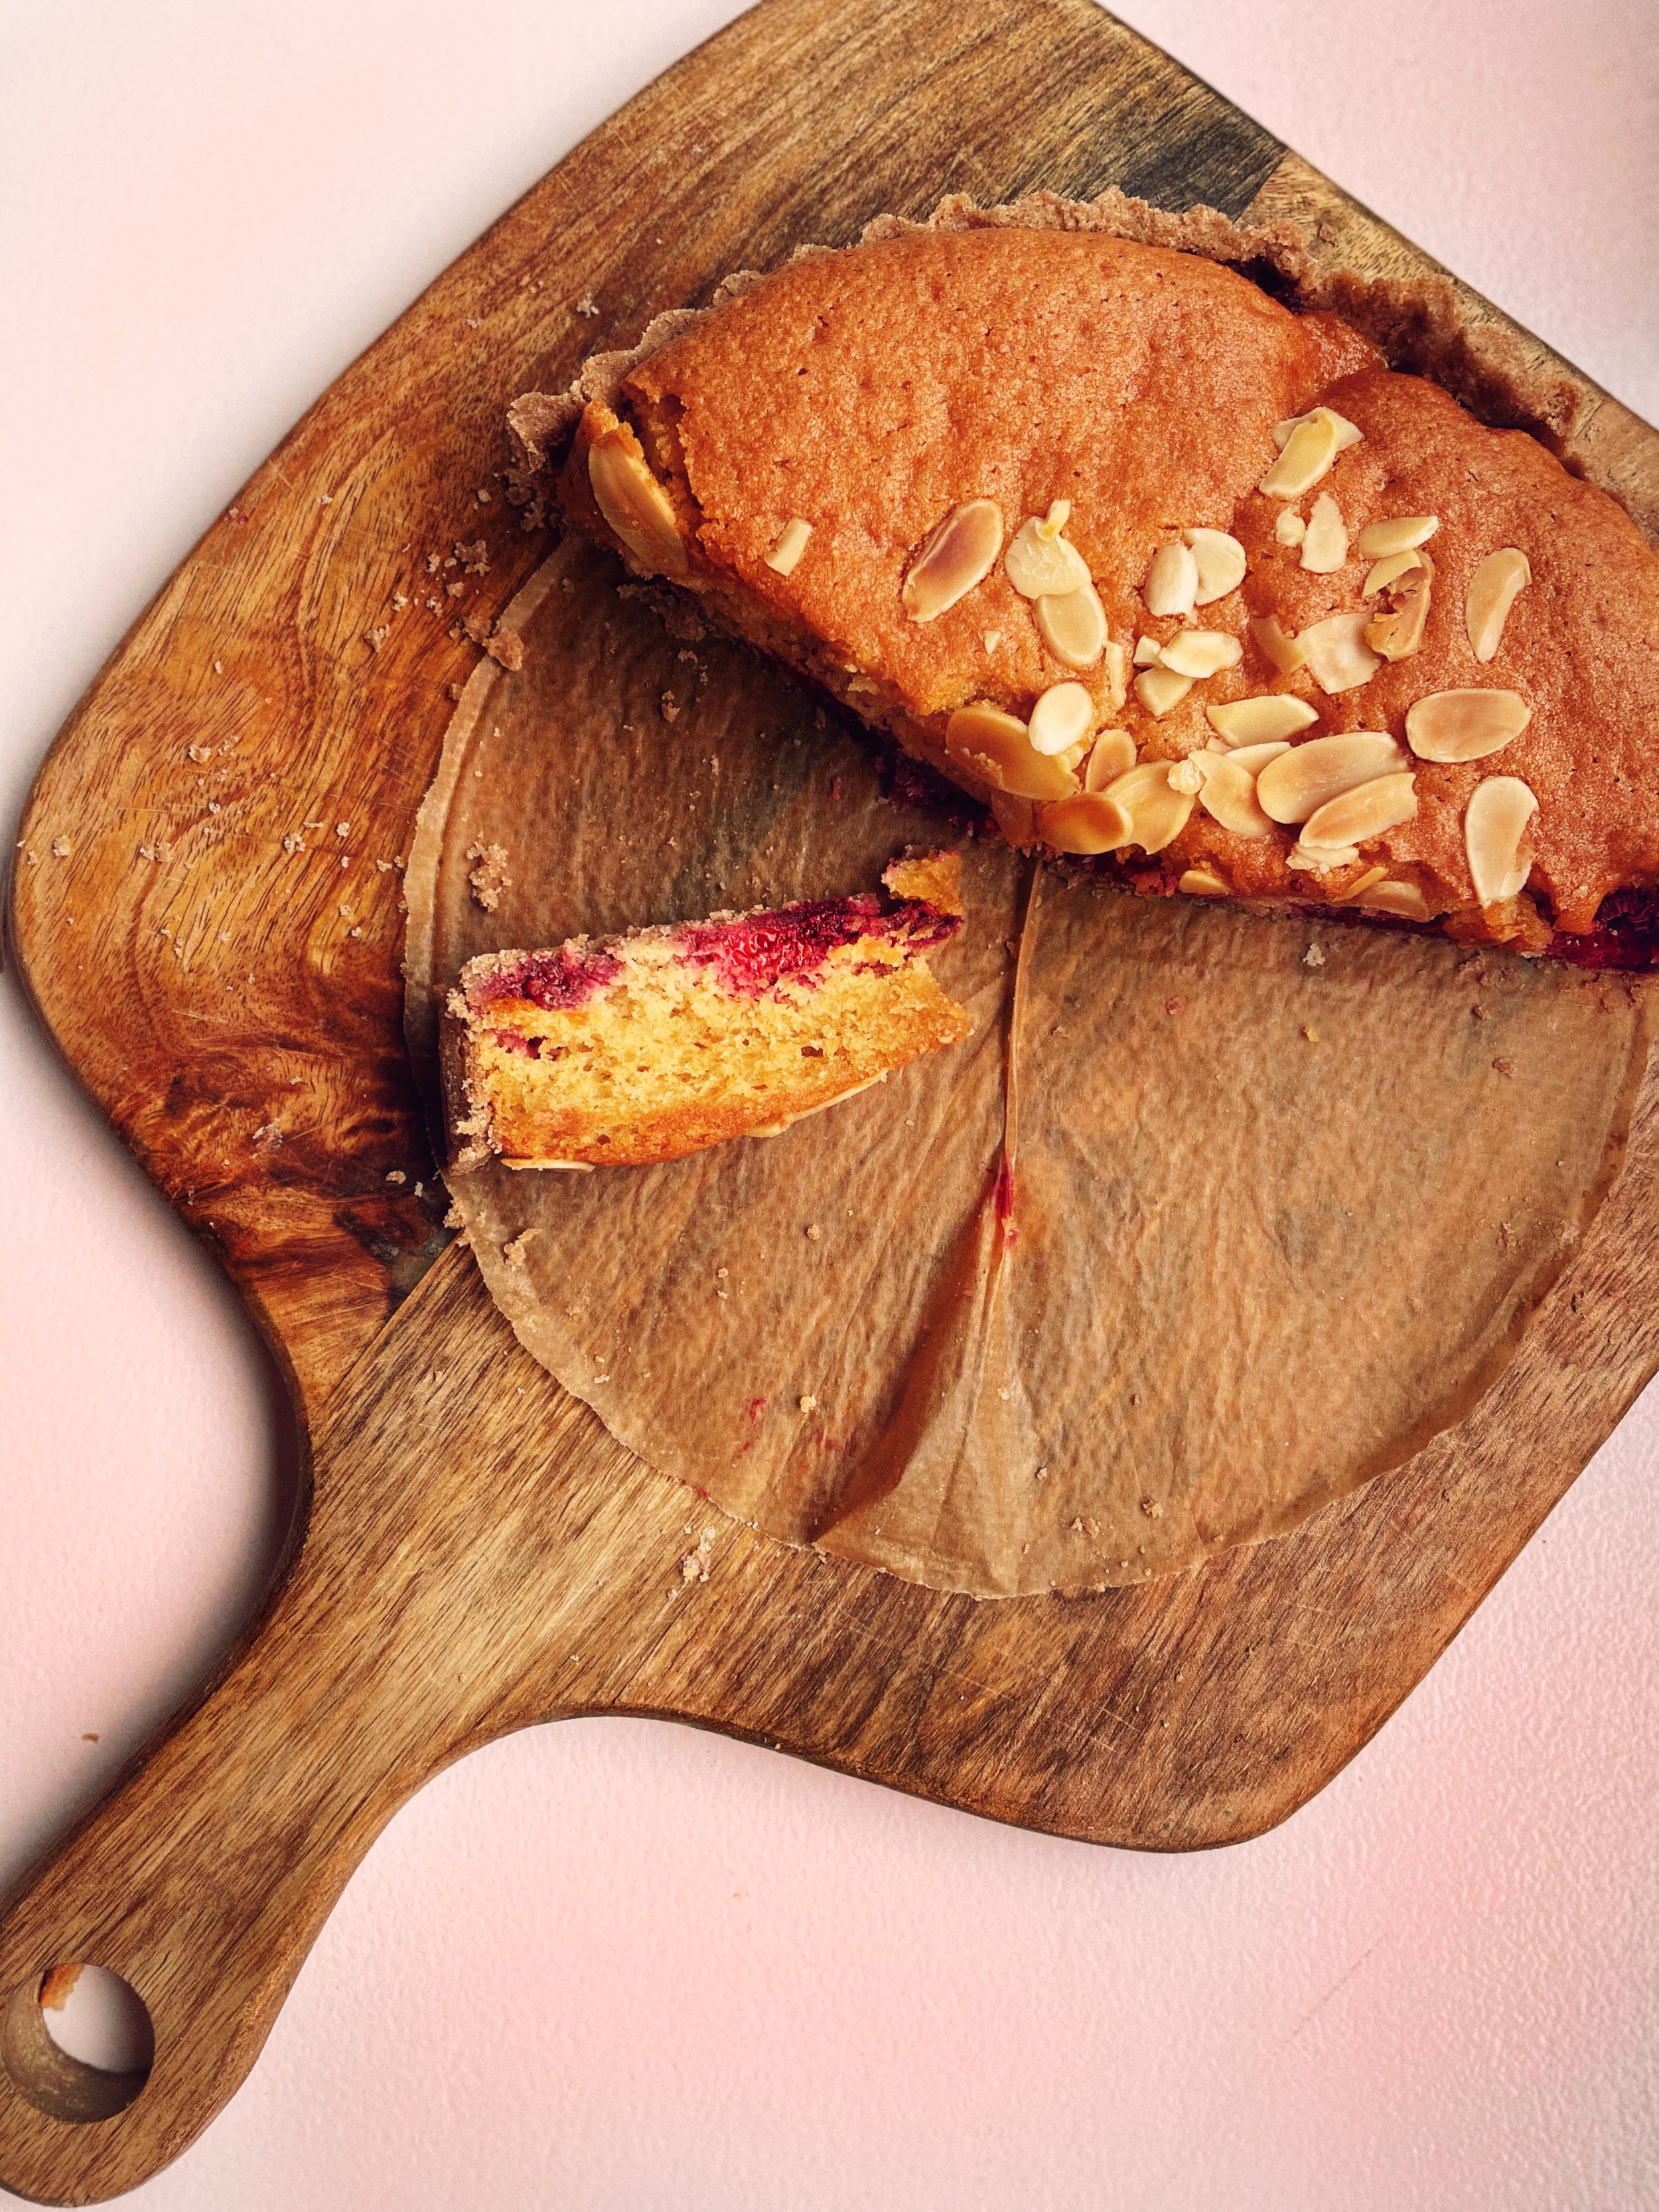
Blackberry Frangipane Tart
One of the few domestic things my mum did was to make blackberry jam. Armed with carrier bags, we set out to forage with hearts full of possibility, delighted at the prospect of some free fruit. Later, all scratches and purple fingers, we would watch our mum perform some kitchen alchemy as jars sprang from nowhere to be filled with hot jam, the colour of a summer night. The jammy blackberry compote that complements frangipane so beautifully is a salute to my mother – a dab hand with a blackberry.
Tart
½ quantity sweet shortcrust pastry
20g flaked almonds – to sprinkle
Frangipane
100g very soft salted butter (or 50g coconut oil or melted cocoa butter + 50g dairy free yogurt)
100g light muscovado sugar
2 large eggs
100g ground almonds
40g potato starch (or cornstarch)
1 heaped tsp gluten free baking powder
Fruit Filling
250g blackberries (or other berries, rhubarb, peaches or plums)
40g sugar – or to taste
zest of a lemon (optional)
2 tsp cornflour blended with 1 tbsp water
Make the filling first. Put berries, lemon zest and sugar into a small pan and cook until the juices have run and started to reduce a little – 10 minutes or so. Stir cornflour into a tablespoon of cold water and add it to the pan on the heat, stirring constantly until it has thickened. Set aside to cool.
Roll pastry into a circle on a floured surface – or between two sheets of floured parchment or silicone mats if you struggle to handle it. Use the rolling pin to help you drape it over a well buttered flan case.
Gently press pastry into the flan case, patch any holes, prick base with a fork and slice off any excess with a knife, chill for about 10-15 minutes in the freezer (25-30 mins in the fridge) until the butter is firm again. Place a large circle of parcment in the case with some baking beans and blind bake at 180ºC fan/200ºC no fan (355ºF fan/390ºF no fan) for 15 minutes. Take out the baking beans and put back in the oven for another 5 minutes. Set aside to cool a little.
To make the frangipane topping, put everything in a bowl and beat until light, smooth and fluffy. Cream butter and sugar together first if the butter is not super soft.
Spoon fruit filling over the blind baked pastry case. Spoon frangipane over the fruit, level the top and sprinkle with flaked almonds.
Bake for 35-45 minutes at 160ºC fan/180ºC no fan (320ºF fan/355ºF no fan), until the frangipane is cooked. Test the frangipane with a skewer and when no wet crumbs come out, it’s done.
Serve warm or cold with lashings of double cream.
Frangipane – gluten and egg free
Enough for an 8”/20cm tart
This frangipane is definitely denser than one made with eggs and needs more cooking, but the crust becomes moreishly chewy and the centre is wonderfully moist.
25g ground golden linseed
1 tsp lemon juice or vinegar
1 tsp vanilla extract (optional)
85g soft salted butter
100g light muscovado sugar
100g ground almonds
50g potato starch
1 tsp ground psyllium husk
2 tsp baking powder
Mix together ground linseed, lemon juice and vanilla with 125g water and set aside for a few minutes to form a gel.
Beat butter and sugar together briefly.
Sift ground almonds, potato starch, psyllium and baking powder into the bowl, add the linseed mixture and beat well until lighter in colour, smooth and fluffy.
Use straight away as per your recipe. Bake for 35-40 minutes at 160ºC until firm and a skewer comes clean
Frangipane – gluten, egg and dairy free
Enough for an 8”/20cm tart
This frangipane is definitely denser than one made with eggs and needs more cooking, but the crust becomes moreishly chewy and the centre is wonderfully moist. Don’t forget the salt or leave out the acid as these are important to balance the lack of eggs and dairy.
25g ground golden linseed
2 tsp lemon juice or vinegar
1 tsp vanilla extract (optional)
60g coconut oil or olive oil (or equal parts coconut oil/olive oil/cocoa butter)
100g light muscovado sugar
100g ground almonds
50g potato starch
1 tsp ground psyllium husk
2 tsp baking powder
2 good pinches salt
Mix together ground linseed, lemon juice and vanilla with 120g water and set aside for a few minutes to form a gel.
Beat coconut oil and sugar together briefly – the coconut oil must be at room temperature.
Sift ground almonds, potato starch, psyllium, baking powder and salt into the bowl and beat well until lighter in colour, smooth and fluffy.
Use straight away as per your recipe. Bake for 35-40 minutes at 160ºC until firm and a skewer comes clean.
Frangipane – nut and gluten free
This frangipane has a delicious flavour from sunflower seeds, but they don’t overpower. You could also use pumpkin or sesame seeds (black sesame is lovely) – but they have much stronger, grassier and bitter flavours, that require thought when deciding what to pair with the frangipane. You need a coffee grinder with blades to grind up the seeds, coconut & oats.
40g sunflower seeds
20g rice flour
20g gluten free porridge oats
20g desiccated coconut
40g potato starch
100g softened salted butter
100g light muscovado sugar
1 tsp vanilla extract
2 organic eggs
1 tsp baking powder
First grind the sunflower seeds with the rice flour, until the texture of finely ground almonds. Repeat with oats and coconut – don’t overload the grinder.
Put the ground seeds, oats & coconut into a mixing bowl with the rest of the ingredients and beat well until light, smooth and fluffy.
Use as per your recipe. Bake for 25-35 minutes 160°C until the frangipane is cooked. Test the frangipane with a skewer and when no wet crumbs come out, it’s done.
Serve warm or cool with lashings of double cream.